How to Grow Tomatoes from Fresh Tomatoes Easily
Imagine harvesting juicy, sun-ripened tomatoes straight from your own garden – a flavor far superior to anything you’d find at the grocery store. While starting with seeds is a common approach, you might be surprised to learn that you can also cultivate new tomato plants directly from fresh tomatoes. This method, while requiring a bit of patience and the right conditions, can be a rewarding and cost-effective way to expand your tomato patch. This comprehensive guide will walk you through the entire process, from selecting the perfect tomato to troubleshooting common problems, ensuring you enjoy a bountiful harvest.
The Allure of Growing Tomatoes from Tomatoes
There are several compelling reasons to consider this unconventional method of propagating tomato plants. First, it's a fantastic way to preserve heirloom varieties. If you have a particularly flavorful or disease-resistant tomato, growing from its fruit allows you to maintain its unique characteristics. Second, it's an excellent experiment for beginner gardeners, offering a hands-on understanding of the tomato life cycle. Finally, it's simply fun! Watching a new plant emerge from a slice of tomato is a deeply satisfying experience.
Step-by-Step Guide: Turning a Tomato into Seedlings
Before you begin, understand that growing from a tomato isnotthe same as growing from saved, dried seeds. You're essentially triggering germination directly from the pulp, which requires careful attention to prevent rotting and ensure success.
1. Choosing the Right Tomato
Variety Matters: Heirloom and open-pollinated tomatoes are the best candidates. Hybridsmayproduce viable plants, but the offspring might not exhibit the same traits as the parent tomato. For reliable results, stick with heirlooms like Brandywine, Cherokee Purple, or San Marzano. Cherry tomatoes also tend to germinate well. Ripeness is Key: Select a tomato that is fully ripe, but not overripe or showing signs of decay. The seeds need to be mature for successful germination. Organic is Preferred:Opt for organically grown tomatoes to avoid any potential issues with seed viability caused by synthetic pesticides or herbicides.
2. Preparing the Soil (or Seed Starting Mix)
Well-Draining is Essential: Whether you're using seed starting mix or potting soil, make sure it drains well. Soggy soil will quickly lead to rot. A mix of peat moss, vermiculite, and perlite works well. Sterilize the Soil (Optional): To minimize the risk of fungal diseases, you can sterilize the soil in the oven. Bake moist soil at 180°F (82°C) for 30 minutes. Let it cool completely before using.
3. Planting the Tomato Slices
Method 1: The Slice Method: Cut the tomato into thick slices (about ½ inch). Gently lay the slices on top of the prepared soil in a small container or seed starting tray. Cover lightly with more soil (about ¼ inch). Method 2: The Seed Extraction Method (More Advanced): Scoop out the seeds and pulp from the tomato. Place the mixture in a jar with a small amount of water. Let it ferment for a few days, stirring occasionally. This process helps to break down the gel-like substance around the seeds, which inhibits germination. Rinse the seeds thoroughly and spread them out on a paper towel to dry before planting them in your prepared soil. This method requires more time, but significantly reduces the chance of mold.
4. Watering and Humidity
Keep it Moist, Not Soggy: Water gently using a spray bottle to avoid disturbing the tomato slices or seeds. The soil should be consistently moist, but not waterlogged. Humidity is Your Friend: Cover the container with a clear plastic lid or plastic wrap to create a humid environment. This will help with germination. Be sure to vent the container daily to prevent mold growth.
5. Light and Temperature
Warmth is Crucial: Tomato seeds germinate best in warm temperatures (70-80°F or 21-27°C). A heat mat can be helpful, especially if you're starting seeds indoors during cooler months. Indirect Light: Place the container in a location with bright, indirect light. Avoid direct sunlight at this stage, as it can overheat the seedlings.
6. Patience is a Virtue
Germination Time: It can take anywhere from 7 to 21 days for the seedlings to emerge. Be patient and continue to monitor the moisture levels and humidity.
Nurturing Your Tomato Seedlings
Once the seedlings have emerged, it’s time to provide them with the care they need to thrive.
1. Gradual Acclimation
Remove the Cover: Gradually remove the plastic cover or lid over a period of a few days to acclimate the seedlings to lower humidity levels. Increase Light Exposure: Gradually increase the amount of light the seedlings receive. If you're using artificial lights, move the lights closer to the plants.
2. Thinning the Seedlings
Select the Strongest: Once the seedlings have developed a few sets of true leaves (the leaves that look like miniature tomato leaves, not the initial seed leaves), thin them out, keeping only the strongest and healthiest seedlings. Snip off the weaker seedlings at the soil line to avoid disturbing the roots of the remaining plants.
3. Transplanting the Seedlings
Potting Up: Once the seedlings are large enough to handle (about 2-3 inches tall), transplant them into individual pots filled with potting mix. Handle with Care: Gently loosen the soil around the seedlings and carefully lift them out of the container. Avoid damaging the roots.
Growing Tomatoes Indoors vs. Outdoors
Whether you choose to grow your tomatoes indoors or outdoors will significantly impact their care.
Indoor Tomato Growing
Lighting: Indoor tomato plants require supplemental lighting. LED grow lights are an excellent option, providing the necessary spectrum for healthy growth. Aim for 14-16 hours of light per day. Temperature: Maintain a consistent temperature between 65-75°F (18-24°C). Pollination: Indoor tomatoes may require hand-pollination. Gently shake the plants or use a small brush to transfer pollen from one flower to another. Container Gardening: Use large containers (at least 5 gallons) with drainage holes.
Outdoor Garden Methods
Sun Exposure: Tomatoes need at least 6-8 hours of direct sunlight per day. Soil Preparation: Amend the soil with compost and other organic matter to improve drainage and fertility. Aim for a slightly acidic soil p H (6.0-6.8). Raised Bed Tomato Care: Raised beds offer excellent drainage and allow you to control the soil quality. Spacing: Space tomato plants 2-3 feet apart to allow for adequate air circulation and sunlight.
Tomato Growth Stages and Essential Nutrients
Understanding the tomato growth stages will help you provide the right care at the right time.
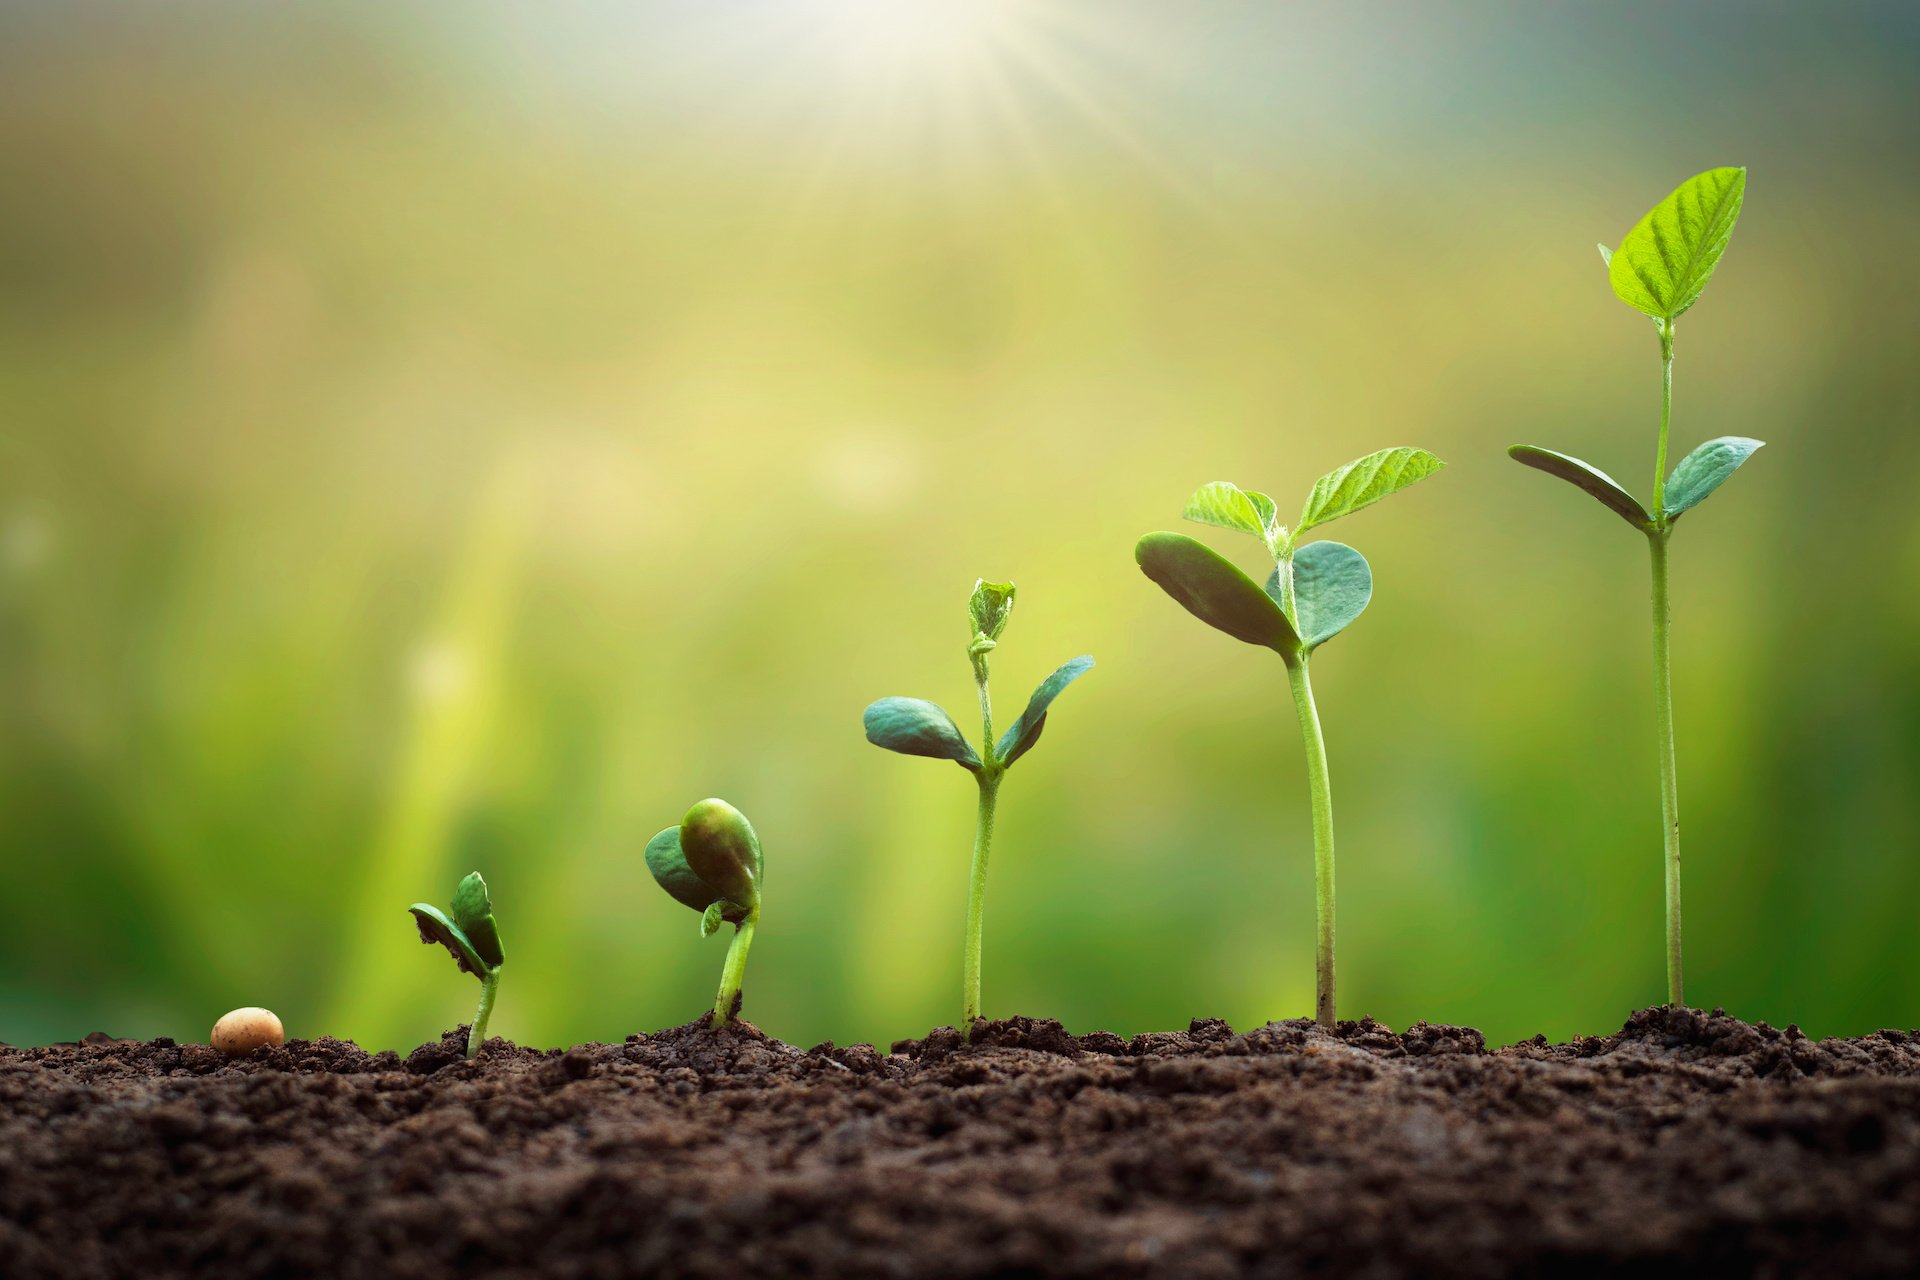
Germination: The emergence of the seedling from the soil. Seedling Stage: The development of true leaves. Vegetative Growth: The plant focuses on growing foliage. Flowering: The plant produces flowers, which need to be pollinated to develop into fruit. Fruiting:The development and ripening of the tomatoes.
Tomatoes are heavy feeders and require a consistent supply of nutrients.
Nitrogen (N): Essential for leaf growth. Phosphorus (P): Promotes root development and flowering. Potassium (K): Important for fruit development and disease resistance. Calcium (Ca): Prevents blossom-end rot. Magnesium (Mg):Essential for chlorophyll production.
Use an organic tomato fertilizer that is specifically formulated for tomatoes. Follow the instructions on the package carefully.
Companion Planting for Thriving Tomatoes
Companion planting can enhance tomato growth and deter pests.
Beneficial Companions: Marigolds (deter nematodes), basil (repels pests), cucumbers (shade the soil), peppers (mutual benefit), carrots (improves soil). Plants to Avoid: Brassicas (cabbage, broccoli, cauliflower), fennel (inhibits growth).
Troubleshooting Common Tomato Problems
Even with the best care, tomato plants can sometimes encounter problems.
Slow Growth: Insufficient sunlight, poor soil, or nutrient deficiencies. Yellow Leaves: Overwatering, underwatering, nutrient deficiencies, or disease. Tall Spindly Plants: Insufficient light, excessive nitrogen. Low Fruit Yield: Poor pollination, insufficient sunlight, nutrient deficiencies, or extreme temperatures. Blossom-End Rot: Calcium deficiency. Ensure consistent watering and supplement with calcium if necessary. Fungal Diseases: Proper spacing and air circulation can help prevent fungal diseases. Use organic fungicides if necessary.
Seasonal Tomato Growing Tips
Greenhouse Growing: Extend the growing season by growing tomatoes in a greenhouse. Florida-Specific Timing: Adjust planting times to account for Florida's warm climate. Winter Indoor Setups:Use grow lights and a warm environment to grow tomatoes indoors during the winter.
Harvesting and Longevity
When to Harvest: Harvest tomatoes when they are fully colored and slightly soft to the touch. Do Tomato Plants Regrow Each Year?Tomatoes are typically grown as annuals, meaning they complete their life cycle in one growing season. However, in warm climates, they can sometimes survive for multiple years if protected from frost.
Advanced Tomato Growing Techniques
Upside-Down Tomatoes:A fun and space-saving way to grow tomatoes. Straw Bale Gardening: Growing tomatoes in straw bales provides excellent drainage and aeration. Hydroponics:Growing tomatoes without soil, using nutrient-rich water solutions. Hydroponic tomatoes often grow rapidly and produce high yields.
Conclusion
Growing tomatoes from fresh tomatoes is an exciting and rewarding gardening experiment. While it may require more attention and patience than starting with seeds, the satisfaction of nurturing a plant from a simple tomato slice is unmatched. By following this comprehensive guide, you'll be well-equipped to embark on your own tomato-growing adventure and enjoy the delicious fruits of your labor. Remember to experiment with different varieties, adapt your methods to your local climate, and most importantly, have fun! Happy gardening!